経緯
パブリックな名前空間を自分専用に使うのは、本当は駄目なんだろうけど、npm みてると my own private なパッケージが結構あるので、ヤッたもん勝ちっぽいので試すことに。そりゃ本当は、 private つかえとか 自分のサーバーでnpm registry たてて使えとか、レポジトリを指定しろとか、npm pack して持ち出せよとかいろいろあると思うんですが。
試すだけならpublish 直後72時間以内に忘れずに unpublish 公開を取り下げられる。ちゃんと削除できるので、試すだけなら大丈夫。大丈夫。さきっちょ☆だけ。さきっちょだけだから。
TL:DR
npm adduser
npm init
npm publish
mkdir other_proj; cd other_proj
npm i $name
node ./node_module/bin/my-pachakge
npx helo
準備1:アカウント
npm にアカウントを作成する
アカウントないと始まらないので!

準備2:npm コマンドにアカウントを覚えさせる
npm adduser

ここで覚えさせた adduser 結果は global の設定として ~/.npmrc に書かれる
takuya@~$ cat .npmrc
prefix=/Users/takuya/.lib/node
//registry.npmjs.org/:_authToken=xxxxxxxxxxxxxxxxx
どのユーザーでログインしたのかわからなくなったら
npm whoami
作業1:公開するモジュールを作る
mkdir tekito
cd tekito
npm init
npm のパッケージを作成すると、次のような質問が聞かれる。
takuya@tekito$ npm init
This utility will walk you through creating a package.json file.
It only covers the most common items, and tries to guess sensible defaults.

See `npm help json` for definitive documentation on these fields
and exactly what they do.

Use `npm install <pkg>` afterwards to install a package and
save it as a dependency in the package.json file.

Press ^C at any time to quit.
package name: (tekito) takuya-1st-npm-examples
version: (1.0.0) 0.0.1
description: 作業用
entry point: (index.js)
test command:
git repository:
keywords:
author: takuya
license: (ISC) GPL-3.0-or-later
About to write to /Users/takuya/tekito/package.json:

{
  "name": "takuya-1st-npm-examples",
  "version": "0.0.1",
  "description": "作業用",
  "main": "index.js",
  "scripts": {
    "test": "echo \"Error: no test specified\" && exit 1"
  },
  "author": "takuya",
  "license": "GPL-3.0-or-later"
}
package nameを決める。
npm.js に公開されても、他人に迷惑がかからないように、なるべく自分だけの名前にしておく
ライセンス
とりあえず、GPLでしょやっぱり。GPLは、"GPL-3.0-or-later"と指定します。
test
ここはテストコマンドだけど、後でちゃんと実装する。
git repos
git repos がアレばどこでもいいと思うんだけど。gitlab とか bitcuket でソース公開してるならそれを書いておけばいいのかな? たぶんnpmjs のパッケージ詳細に掲載される。(試してない)
main ( entry point )
これ大事。require したときにこのファイルが最初に実行される。
作業2:コードを書く
index.js にコードを書く
// require ; 最初に実行される。
console.log( "hello from index" );
index.js は main に指定したのでここがrequire 時に実行される。
公開する。
コード書いて、プライベート情報が暴露され得ないと確認したら、公開する
npm publish
確認する。
新しい、プロジェクト(フォルダ)を作って、インストールしてみる プロジェクト(フォルダ作成)
mkdir my-project; cd my-project
公開したやつを持ってくる。
npm i takuya-1st-npm-examples
require してみる。
my-project/requre-test.js
require ("takuya-1st-npm-examples");
require を書いたファイルを実行する。
cd my-project
node requre-test.js
> hello from index
ここまでで、npmjs に公開とインストールが完了する。
ちなみに、ちゃんとrequire できるのは、global.module.paths にちゃんと反映されているから。
takuya@sample$ node -e 'console.log(global.module.paths)'
[ '/Users/takuya/Desktop/my-project/node_modules',
 '/Users/takuya/Desktop/my-project/node_modules',
  '/Users/takuya/node_modules',
  '/Users/node_modules',
  '/node_modules' ]
コマンドを作る。
次に、npm i 後に使えるコマンドを作る。
自作コマンドを作っておくと npm i するだけでいつもの自分のコマンドがインストールできる。
公開しているパッケージのプロジェクトを開いて。
package.json に "bin" を追加する
bin に指定した名前で コマンドが作られる。
"bin": {
"hello": "hello-command.js"
},
この場合、hello という名前で、 hello-command.js が実行できるように、node_modules の下にコマンドが作られる。
しかも cmd.exe など Windows 環境でも動くように作られる。
コマンドの中身はjs ファイルだが、shebang や cmd 呼び出しにも対応してくる。windowsだと hello.cmd が作られるはずです。
コマンドの中身を作る。
コマンドの中身を書きます。
#!/usr/bin/env node
console.log("hello takuya san");
コマンドを作ったら公開します。
npm publish
すでに公開している場合は、バージョンを上げてやります。
vim packages.json
## version を上げる
"version": "1.0.4"
または
git add  .
git commit -m 'add'
npm version 1.0.4
なぜ、git コマンドがでてくるかというと、git 管理されているフォルダはgit commit 済みでないと npm version を使えません。
使ってみる。
自分の適当なプロジェクトで 公開したパッケージのコマンドを使います。
npm i takuya-1st-npm-examples
コマンドが作られます。
takuya@ my-project$ ls -l  ./node_modules/.bin/hello
lrwxr-xr-x 1 takuya staff 29 2019-04-17 19:25 ./node_modules/.bin/hello -> ../takuya-1st-npm-examples/hello-command.js
json ファイルに、"hello": "hello-command.js" と指定したのでショートカットが作られています。便利。
自作のコマンドをいつでも便利に使う。
ちゃんとコマンドが動くことが確認できました。
ここまできたら、もうglobal を使っても安心です。
自分のシェル環境に 自作のコマンドをglobal インストールしてしまいます。
$npm -g i takuya-1st-npm-examples
これで、よく使うコマンドをnodejs で記述することが出来て管理もインストールも楽ちんになりました。
プロジェクトにいるときだけ コマンドを使いたい
bin の場所は次になります。
$(npm root)/.bin
インストールしたコマンドをローカル(npm)で使うときは
$(npm root)/.bin/hello
これを省略するには、npx が使えます。
npx hello
npxは便利なのでglobal に入れておくといいかも。npm i -g npx
npmjs は公共スペース
マナー厨の老害っぽいですが、npmjs は公共スペースなので他人の迷惑にならないようなパッケージ名で後悔しましょう。
(ってうか、gitlab/github などのgitレポジトリをpackage.json で指定するほうがいいよ絶対。)
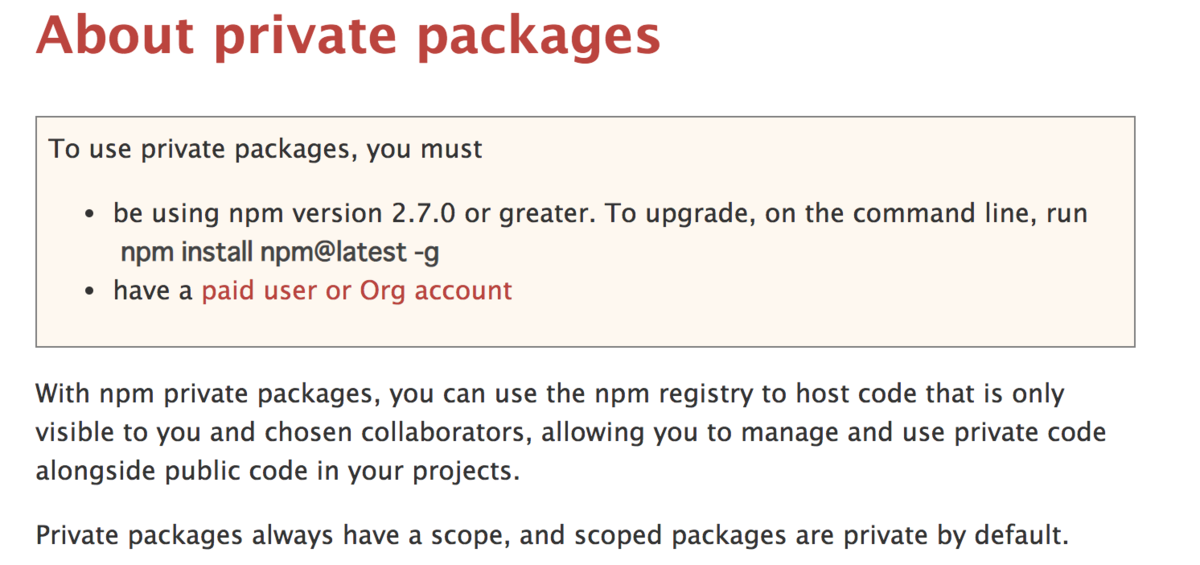
それか、ちゃんとnpmjs に課金してプライベートを使う

package.json に private : true をちゃんと書くことでプライベートなります。
あと、名前に@をつけてScopedであることを明示するとか
あとはVerdaccioのようなprivate registry を自前で用意して作成するという手もある。
公開を取り下げる。
もし本当に、ちょっと試したいだけだったのなら、ちゃんとunpublish でモジュールを削除すること。
公開後72 時間未満なら、ちゃんと消せるんだよ。
> npm unpublish "takuya-npm-sample" ---foce
今回取り上げたこと
- npm でパッケージ公開
- npm でコマンドを作成
- npm でrequire の main( entry point )
今回取り上げなかったこと
- module export
- npm --global と ローカル
- npm のrequire Path
参考資料
https://qiita.com/TsuyoshiUshio@github/items/850245c5fb40310ede9b