GyazoっぽくFotoLifeにアップロードできたら便利だと思ったので
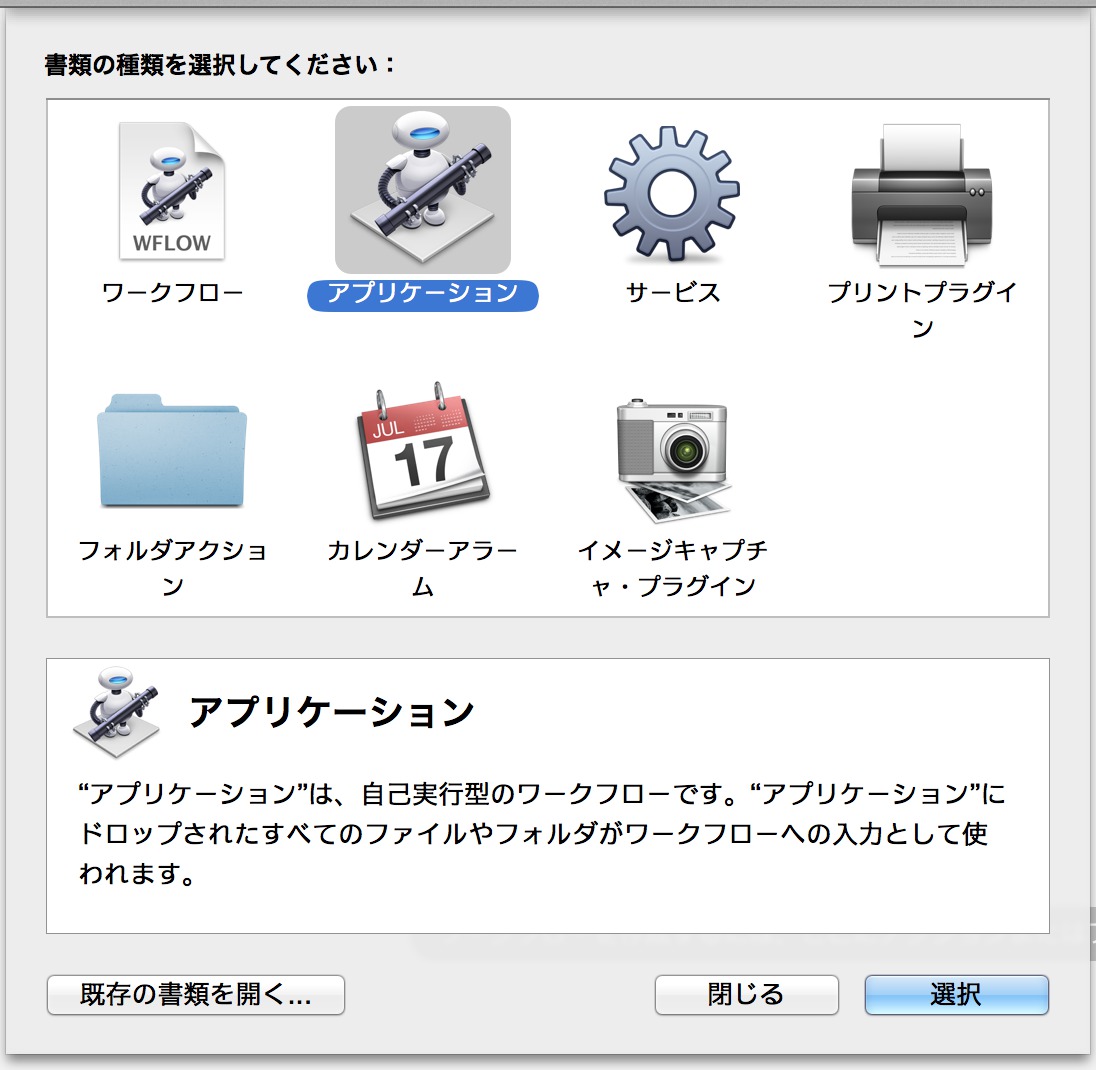
App作っておいた
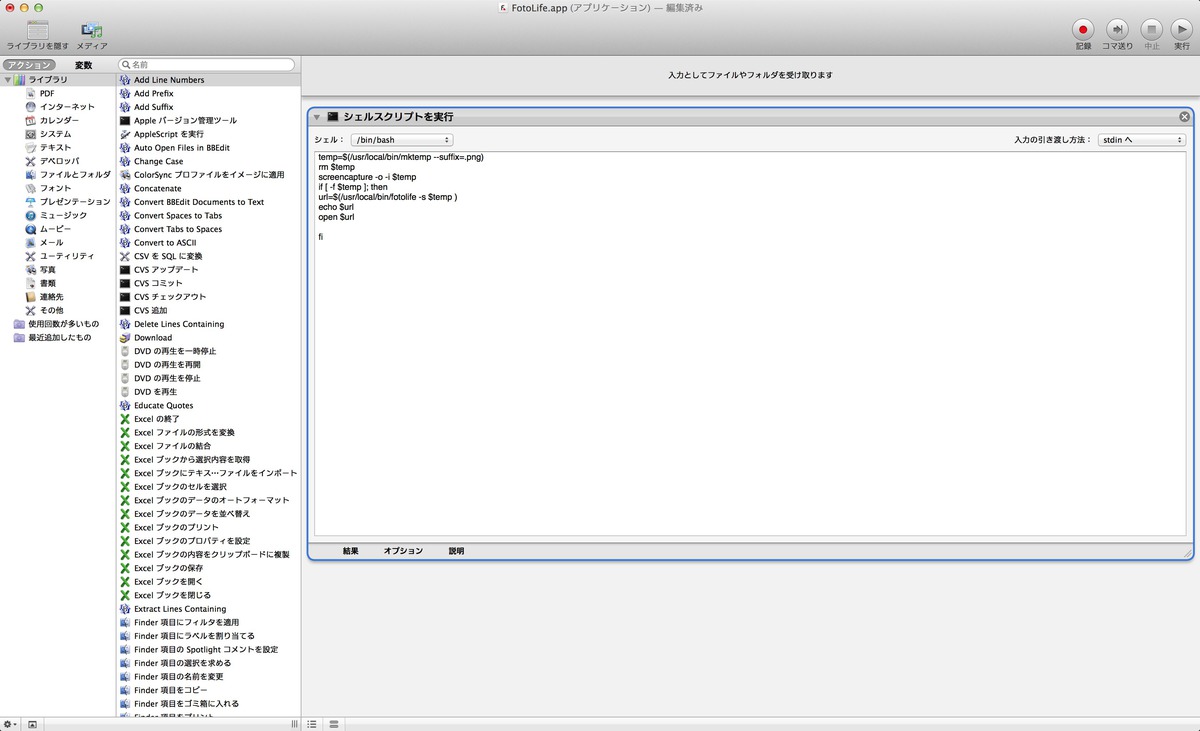
シェルスクリプト呼び出しをする。
#ファイル名作成
temp=$(/usr/local/bin/mktemp --suffix=.png)
rm $temp

#キャプチャ
screencapture -o -i $temp

if [ -f $temp ]; then
# ruby のrbenv 環境処理
PATH="/Users/takuya/.rbenv/shims:${PATH}"
PATH="/usr/local/bin:${PATH}"
rbenv rehash 2>/dev/null
rbenv() {
  typeset command
  command="$1"
  if [ "$#" -gt 0 ]; then
    shift
  fi

  case "$command" in
  rehash|shell)
    eval `rbenv "sh-$command" "$@"`;;
  *)
    command rbenv "$command" "$@";;
  esac
}

##main 処理
url=$(/usr/local/bin/fotolife -s $temp )
echo $url
open $url

fi
これを書いて、fotolife.appとして保存したらOKだった。
fotolife のコマンドは以前作ったfotolifeにアップロードするスクリプト
アイコンを変える
Automator のアイコンは区別が出来ないので、アイコンを作ることにした。
brew install makeicns
wget -O fotolife.png \
https://lh6.ggpht.com/fE2RanqDTEz9MT71o3U4k6cgk_xCmoi9kbLJsn40Zau_7e0KJdcGEwKC6petVp15aA
makeicns -in  fotolife.png
cp fotolife.icns  /Applications/FotoLife.app/Contents/Resources/AutomatorApplet.icns
killall Finder
アイコン作成は brewにある makeicns が楽だった
あとはコマンドを使ってアイコン書き換え、finder再起動


