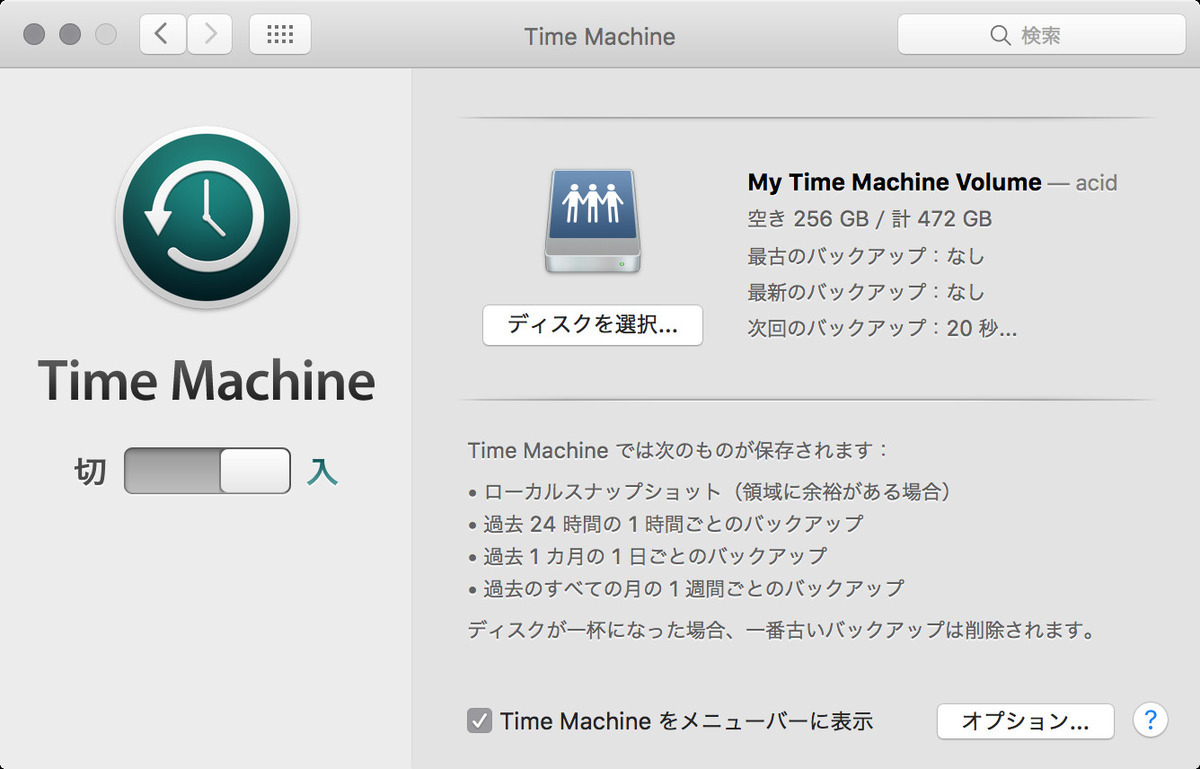
タイムマシンサーバーを作る。
タイムカプセル、高い。高いよ。バックアップを取るのにちょっと不便だよ。
netatalk で タイムカプセルを作る
Samba にsparse bundle を作る手もあるけれど、Sambaだとバックアップが途切れた時に不便なので。AFPで構成しています。
Debian Jessie にアプグレしたので作りなおした。
Debian LTSが Wheezy から Jessie になったので、合わせて作りなおしました。
変更点としては sysv-init から systemd に変わったところに合わせる感じです。
準備
必要な素材(ビルド用)を持ってきます。
sudo apt install build-essential \
 libevent-dev \
 libssl-dev \
 libgcrypt11-dev \
 libpam0g-dev \
 libwrap0-dev \
 libdb-dev \
 libtdb-dev \
 avahi-daemon \
 libavahi-client-dev \
 libacl1-dev \
 libldap2-dev \
 libcrack2-dev \
 systemtap-sdt-dev \
 libdbus-1-dev \
 libdbus-glib-1-dev \
 libglib2.0-dev \
 tracker \
 libtracker-sparql-1.0-dev \
 libtracker-miner-1.0-dev \
 libkrb5-dev \
 libmysqlclient-dev \
ソースを取得して展開します。
curl  -L https://sourceforge.net/projects/netatalk/files/netatalk/3.1.8/netatalk-3.1.8.tar.gz | tar zxvf -
cd netatalk-3.1.8
コンパイルします。
./configure \
        --with-init-style=debian-systemd \
        --without-libevent \
        --without-tdb \
        --with-cracklib \
        --enable-krbV-uam \
        --with-pam-confdir=/etc/pam.d \
        --with-dbus-sysconf-dir=/etc/dbus-1/system.d \
        --with-tracker-pkgconfig-version=1.0
systemd を選択するところがポイント、PAMでユーザー認証するので PAM のパスを書いてある。
make clean && make -j 3
無事にビルドが終わったことを確認します。
 ./etc/afpd/afpd -V
afpd 3.1.8 - Apple Filing Protocol (AFP) daemon of Netatalk

This program is free software; you can redistribute it and/or modify it under
the terms of the GNU General Public License as published by the Free Software
Foundation; either version 2 of the License, or (at your option) any later
version. Please see the file COPYING for further information and details.

afpd has been compiled with support for these features:

          AFP versions: 2.2 3.0 3.1 3.2 3.3 3.4
         CNID backends: dbd last tdb mysql
      Zeroconf support: Avahi
  TCP wrappers support: Yes
         Quota support: Yes
   Admin group support: Yes
    Valid shell checks: Yes
      cracklib support: Yes
            EA support: ad | sys
           ACL support: Yes
          LDAP support: Yes
         D-Bus support: Yes
     Spotlight support: Yes
         DTrace probes: Yes

              afp.conf: /usr/local/etc/afp.conf
           extmap.conf: /usr/local/etc/extmap.conf
       state directory: /usr/local/var/netatalk/
    afp_signature.conf: /usr/local/var/netatalk/afp_signature.conf
      afp_voluuid.conf: /usr/local/var/netatalk/afp_voluuid.conf
       UAM search path: /usr/local/lib/netatalk//
  Server messages path: /usr/local/var/netatalk/msg/
インストール
あとあと管理が楽なので、checkinstall を使います。
sudo apt install checkinstall
sudo checkinstall   \
   --pkgname=netatalk3.1.8 \
   --pkgversion="1:$(date +%Y%m%d%H%M)"  \
   --backup=no \
   --deldoc=yes \
   --fstrans=no \
   --default
インストールしたファイルを確認するときは sudo dpkg -L netatalk3.1.8
初期設定しておきます。
インストールのターゲットが /usr/local/だったので、設定は /usr/local/etcにあります。
これだと、忘れそうで不便なので、ln しておきます。
sudo ln -s /usr/local/etc/afp.conf /etc/
設定ファイルを書きます。
;
; Netatalk 3.x configuration file
;

[Global]
    uam list = uams_dhx2_passwd.so
    mac charset = MAC_JAPANESE
    hostname = acid-afp
    vol preset = default_for_all_volumes
    log file = /var/log/netatalk.log
    #log level = default:maxdebug
    log level = default

    dbus daemon = /usr/bin/dbus-daemon

[default_for_all_volumes]
    file perm = 0600
    directory perm = 0700

[Homes]
    basedir regex = /home

[videos]
    path = /var/video/
    time machine = no


[My Time Machine Volume]
    path = /home/takuya/time_capsule/
    time machine = yes
    vol size limit = 450000
今回はuam list = uams_dhx2_passwd.so が必要だった。コレを入れないとPAM通して認証済みログ出てるのに、なぜかドライブが見えなかった。
起動する
sudo service netatalk restart
systemd に認識されてることを確認
sudo systemctl status netatalk
sudo systemctl start netatalk
sudo systemctl status netatalk
systemd に自動起動するように確認
service に登録されてるか確認
sudo systemctl list-units --type=service | grep netatalk
再起動する。
sudo systemctl enable netatalk
sudo reboot
sudo systemctl status netatalk
関係ないけど、systemd になってこの作業がめんどくさくてやだ。。。忘れて、起動しない&設定反映しないで、焦ること多数。
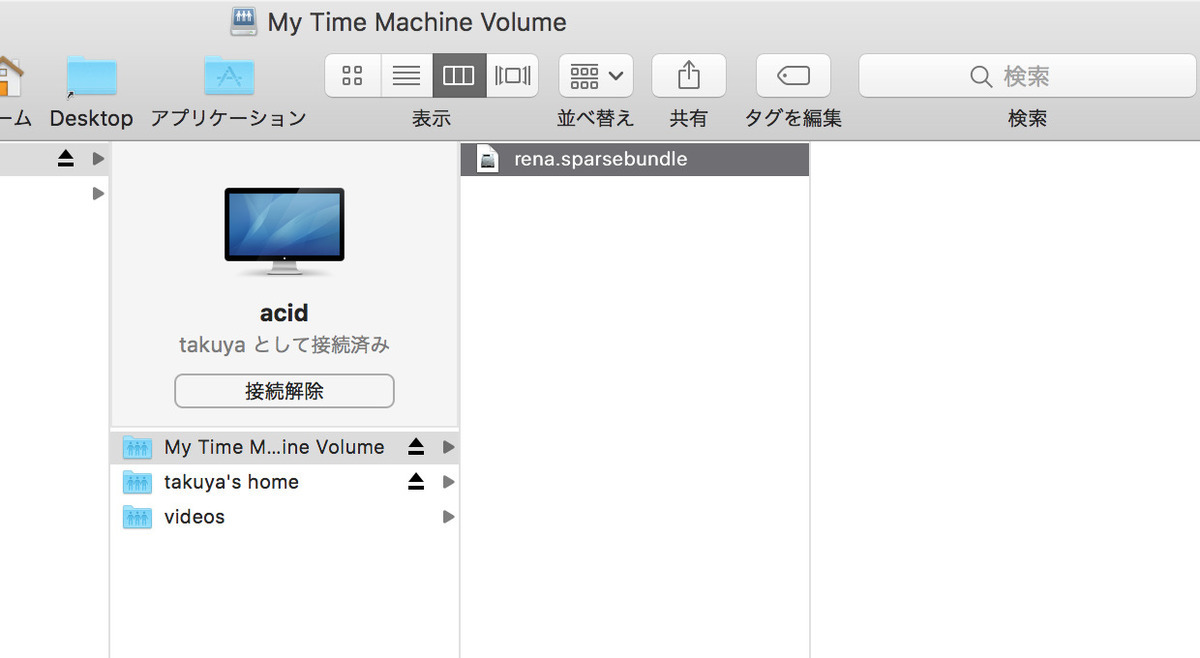
見えたよ

タイムカプセルとして使えるようになった。

ログインする方法
デフォルトのままで。わたしは、linux のユーザ名でログインする方法にしました。
詳しくは→ http://netatalk.sourceforge.net/3.1/htmldocs/configuration.html#authentication
基本的には /etc/passwd (PAM) にユーザ認証を任せる感じ
/etc/pam.d/netatalk
#%PAM-1.0
auth     include common-auth
account  include common-account
password include common-password
session  include common-session
Sambaもあるとき
同一サーバーにSamba も afp あるときは、同名のホスト名で、共有される。Macのネットワーク一覧でAFPが優先されて見えちゃうので、Sambaがネットワークから見えなくなる。名前が被っちゃう。
なので、ホスト名を変えておくことで、同時に使うことが出来る。
# なにもしないと `hostoname`=myserver
    hostname = myserver-afp
Sambaがあるときは設定を変えることで使いやすくなる。
Sambaより楽かも
Samba4系で AD サーバーになったので設定があれこれめんどくさくなった。macOS X からのデータ共有ならAFPとnetatlk のほうが手軽でいいや
netatalk なら spotlight にも対応するし。必要ならtdb使えるし、持っておいて損はない。
将来的にはSMBでもタイムマシーンが使えるらしいが。。。
macOS SierraおよびServer 5.2ではSMB接続のネットワークボリュームを「Time Machine」のバックアップディスクとして使用可能に? | AAPL Ch.
いつNetatalkを捨てて、Sambaに移行すべきか:HAT blog
AFP は将来的には使えなくなる・・・だと?ええ、、SMBで共有するとなるとそれはそれめんどくさいよね。そもそもLinuxのSMBでtime capusle に使えるのかな・・・
過去資料
http://takuya-1st.hatenablog.jp/entry/2014/04/07/013519
2017-03-01
systemd 関連を一部修正
参考資料
http://netatalk.sourceforge.net/3.0/htmldocs/afp.conf.5.html
http://netatalk.sourceforge.net/wiki/index.php/Install_Netatalk_3.1.8_on_Debian_8_Jessie